
Let’s learn how to change the needle on a Singer sewing machine because the needle and the bobbin are two of the most important accessories/tools on any sewing machine.
When you get your first sewing machine, before jumping to any stitching whatsoever, you need to get acquainted with your sewing machine.
That means reading the user manual with your sewing machine in front of you, trying to get yourself acquainted with all its components and accessories.
Any user manual also comes with instructions for various things, including how to change a needle, winding the bobbin, inserting the bobbin, threading the upper thread, using the automatic needle threader, etc. So I’ll also rely on that for writing this quick guide.
How to Change a Needle on Singer Sewing Machine: 4 Steps
I’ll try to explain as best as I can how the whole process goes but if you are more of a visual person, I recommend checking out some YouTube tutorials.
Here is a tutorial from Singer about how to change a needle.
Let’s see what the user manual teaches us about changing the needle on a Singer sewing machine. I’ll consult the manual of one of my favorite models, the Heavy Duty 4423.
We are advised to change the needle regularly, especially if it’s causing problems or if it’s showing signs of wear.
1. Shut down your sewing machine
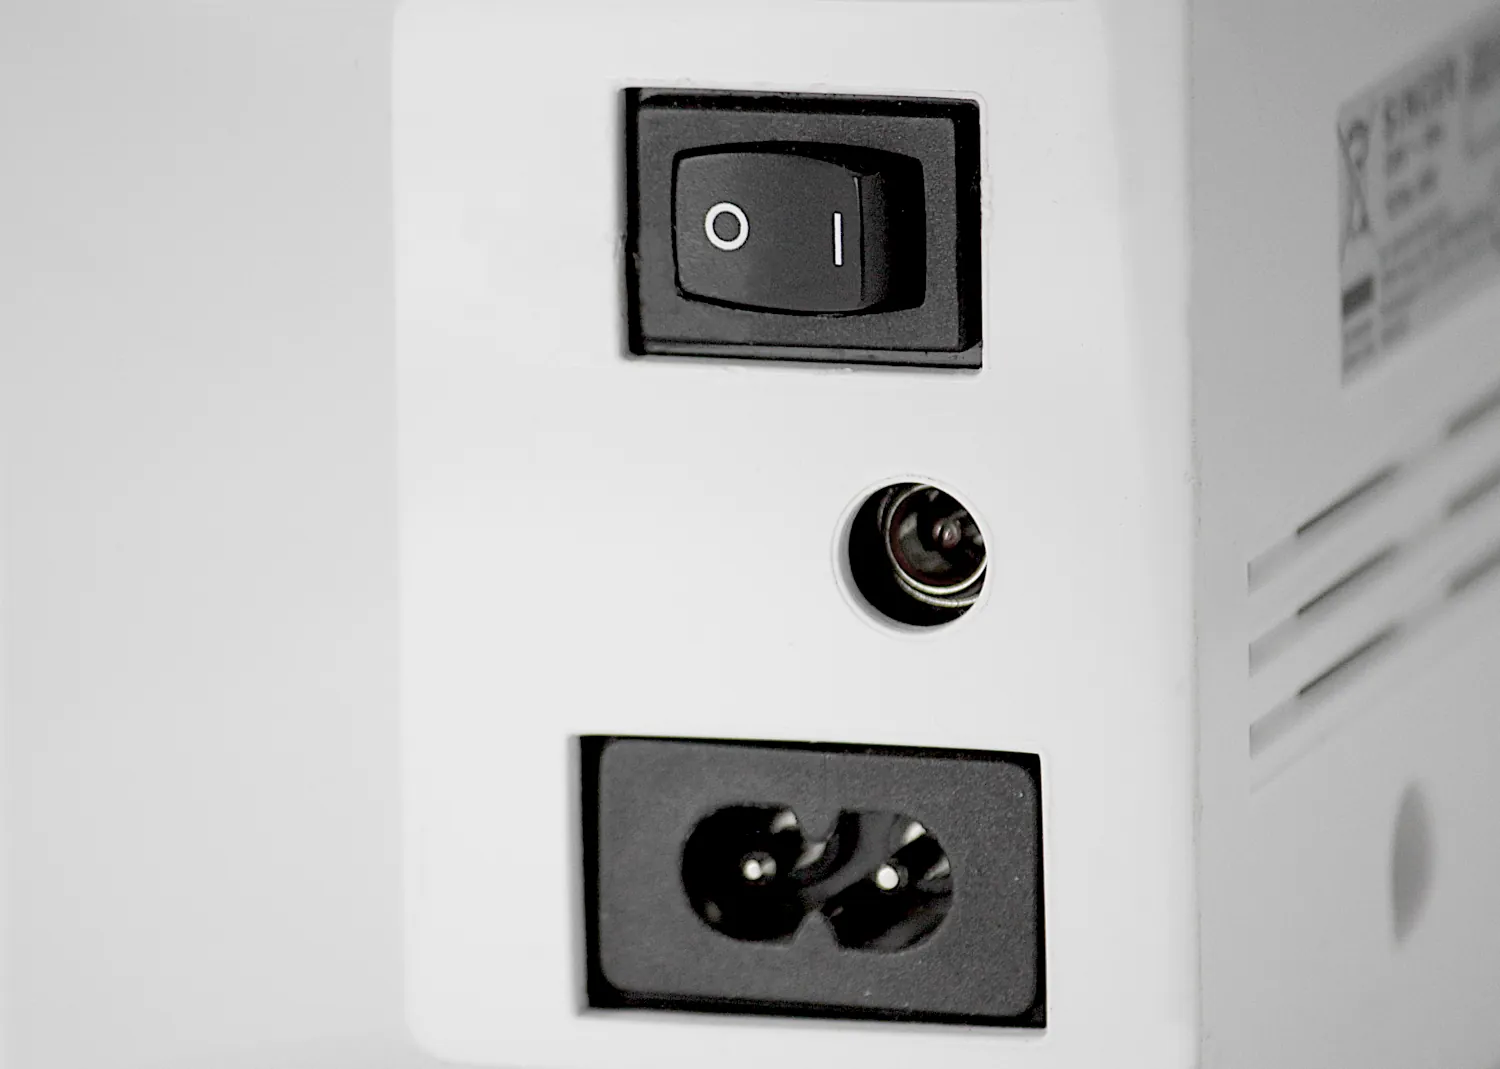
The first step is to always shut down your machine when you’re changing the needle or cleaning your machine or doing other maintenance things.
Raise the needle by turning the handwheel towards you and lower the presser foot.
2. Loosen the needle clamp screw
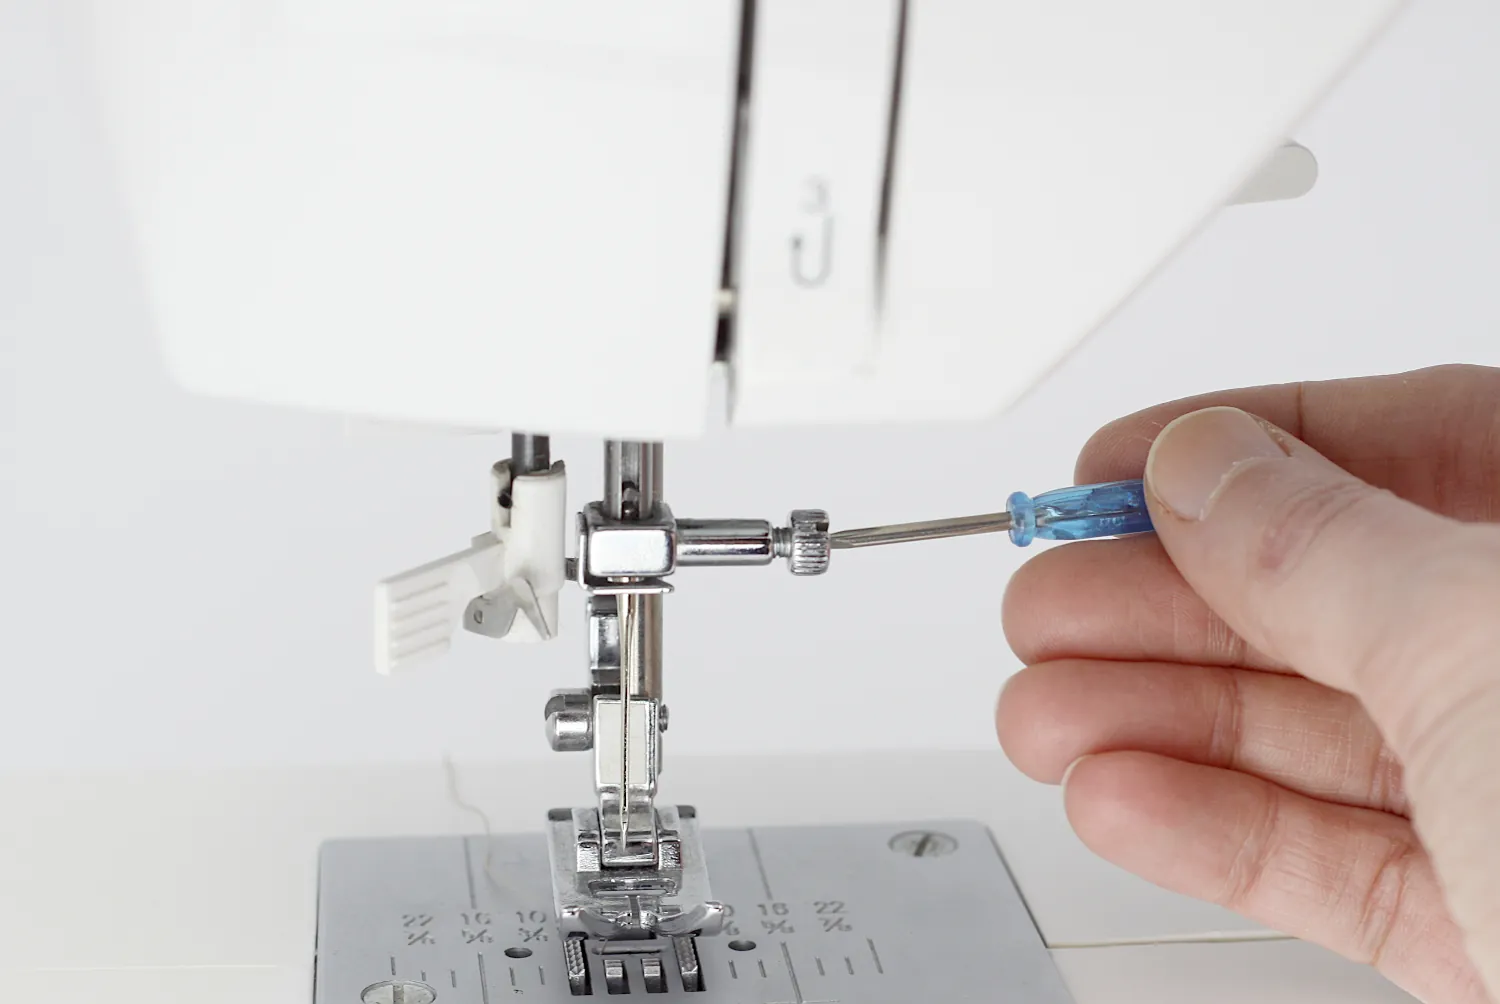
Hold the needle with your left hand.
Use a disc-shaped screwdriver to turn the needle clamp screw counterclockwise. You only need to turn once and the needle comes off.
You need to be gentle with the needle clamp so that you don’t damage your sewing machine. Just gently turn the disc-shaped screwdriver counterclockwise once and reverse the process when you tighten a new needle in place.
The needle clamp is the one holding the needle in place. Once loosened up you can remove the needle.
3. Insert another needle
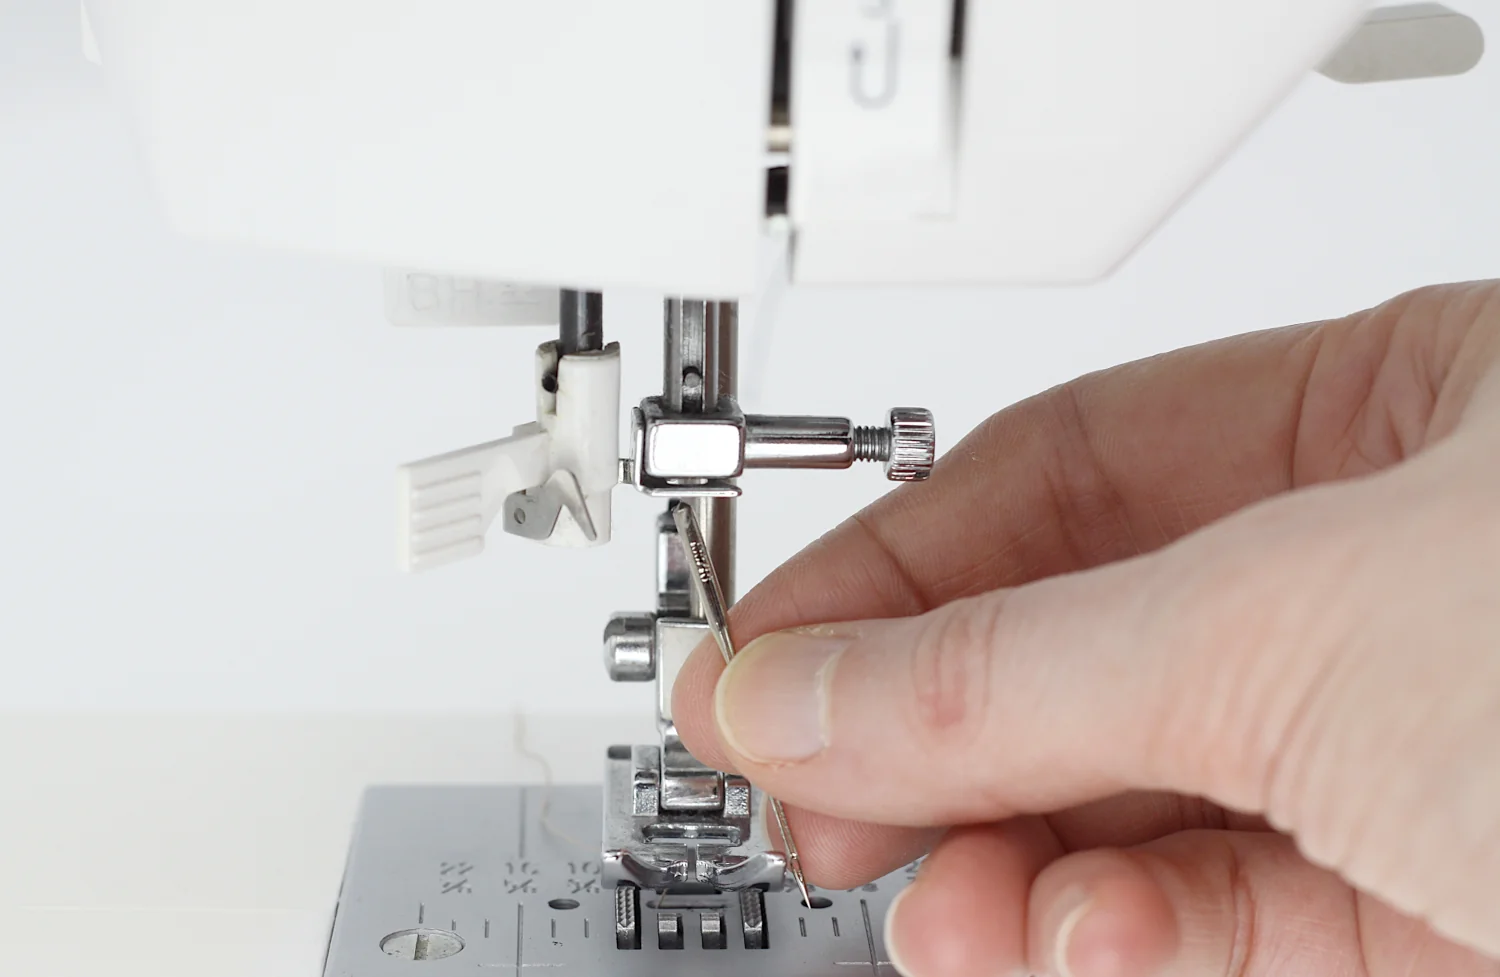
The flat side of the shaft should be towards the back.
Thus, with the flat side of the needle towards the back of the machine, insert the needle as far up as it will go. Until it touches the needle stopper.
4. Tighten the needle clamp screw

All that’s left to do now is to tighten the needle clamp screw with the disc-shaped screwdriver.
Just rotating the screwdriver once is enough. Don’t force anything.
All in all, as you can see, changing the needle on a sewing machine is one of the easiest things you can do. There’s no reason to avoid it.
Is it different changing the needle on other sewing machines?
It’s not. For example, we have this guide from Brother.
It includes the same instructions that I mentioned in my short guide on how to change a needle on a Singer sewing machine.
If you’ll read the instructions from Janome, you’ll notice that they’re the same.
Whether you’re using a Singer or any other sewing machine, changing the needle follows the same steps.
Why you need to know how to change the needle on a sewing machine
We’ll need to change the needle according to the type of fabric we’re working with.
For example, if we’re sewing leather, we’ll need different needles than if we’re sewing cotton or jeans, etc.
If you want to know more about the different needles that we can use for a sewing machine based on which fabric we’re using, you can check out this chart here.
Other reasons for mastering how to change a needle on a Singer sewing machine are various troubleshoots.
One of the most frequent troubleshoots is that you might break your needle so you automatically need a new one.
Even damaged or worn needles need to be changed, just like we sharpen our scissors frequently.
- damaged/worn needles can lead to:
- uneven stitches
- skipped stitches
- broken threads
- shredded threads
- damaged fabrics
- popping sounds
To make sure that your needle is straight, place the flat side of the needle on something flat. The clearance between the needle and the surface needs to be consistent.
Moreover, when I wrote my article on why the sewing machine is not picking up the bobbin thread, one of the things I mentioned that you should do is to change the needle if it’s dull or bent.
All in all, learning how to change a needle on a Singer sewing machine is absolutely crucial and extremely easy, no lengthy sewing or mending can be done without knowing this very important thing.


